25 August 2013

Sweet Pink Leopard


Hey guys! Today I'm gonna share with you this fast and easy nail art that I did for this week. The design has a sweet peachy pink color with a leopard print accent. I'm now loving this design as it's so simple yet so eye catchy. I hope you'll like it too.

So let's start... :)

Here are the nail colors I've used:
Essence's 111 English Rose, Scandal Cosmetics' 01 White and Essence's 110 Modern Romance


After applying the base coat, I put 3 thin coats of the essence 111.


After making sure that it is completely dry, I added dots on the ring fingernail using the white nail color.


With the essence 111 and using the smallest dotting tool, I made some c-shape-like outline on the white dots. I also added random dots using the same color on the empty spaces.


Then, I put a layer of top coat to finish the design.


*Photo with flash

Have fun!! :)

11 August 2013

Think Pink


Now I'm gonna show you how I did this fun nail art using different shades of pink. :)

So let's start.

Here are the colors & tools I've used:
Scandal Cosmetics' Sally Red, OPI's Step Right Up!, Etude House's Pick Pink, Scissors, Nail Striping Tape


After applying the base coat, I applied 2 thin coats of OPI's step right up!. 


Then just like making a french tip, I made 2 lines in each nail to divide the nail into 3 parts using the other 2 nail colors. 


After the nail polish is totally dry I then put strips of nail striping tape on the area where the color divides.


Lastly, I've applied a layer of top coat and it's done.


Have fun! :)

08 August 2013

Simply Mickey


Hey guys! Let's do a quick and easy nail art design. This time it's a mickey mouse themed nails. I'm sure you guys will love to try this.

So let's get this started...

I've used OPI's Black Onyx, Scandal Cosmetic's 01 White, Essence's 115 Redvolution and some dotting tools.


After applying a layer of base coat, put on 2 coats of the essence redvolution.


With a black nail color and a dotting tool, create a mickey mouse logo by making 3 dots. To do this, add the center dot first for the head then add another two dots on top of the center dot for the ears.

Note: Repeat this same procedure to the rest of the nails except the ring finger.


On the ring finger, fill the top half of the nail with a black nail color. Then, with a dotting tool and a white nail color, add 2 white dots on the red part (lower half part) of the nail for mickey's shorts.


Lastly, put a layer of top coat and you're done.


Have fun! :)

Little Mermaid Nails


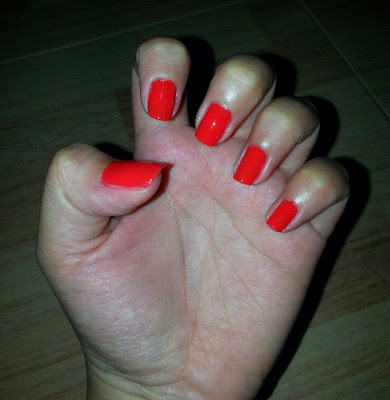
Hey guys! Today I'll show you how I did these little mermaid nails. :) This will actually take time & a little bit of patience as each nail is different.

For this look, I've used these nail colors below.


And like most of my other posts, here's my favorite tools to use. I find them easier to control than other brushes.


For the thumb, I did Ariel's face using these colors.


Start by painting 2 coats of nude color (Face Shop: BR 802).

Using a red color (Essence: 114 fame fatal), create her hair on the half top part of your nail by doing a check sign then fill it with that color.

Add 2 dots for her eyes using a black color (OPI: black onyx) and a dotting tool.


Then with the same black color and a striper brush, add her lashes. 

Now using a brown color (Essence: 124 wanna say hello), create her eyebrows.

Add 2 smaller dots to finish the eyes using a white color (Scandal Cosmetics: 01 white).


Moving on to the index, I did a mermaid's tail feel. I've painted 2 coats of aqua blue color (Face Shop: GR 501).

After making sure it's dry, I added a coat of a glittery blue from Sunny Glam Nails.

Lastly, using the same color of aqua blue and with a striper, I've created a criss cross pattern. 

Note: I did the same to the pinky nail.


Now let's do the middle fingernail. For this I've applied 2 coats of nude nail color.


For creating her top, I've used a light purple color (Face Shop: PP 401) and created a shape of an 8 with the help of a striper. I then filled it using a dotting tool. Using a darker purple (Face Shop: PP 403), I added lines in the middle to create a clam-like design.

Then with the aqua blue color, create a V-shaped french tip to simulate the mermaid's tail.

Note: You can add outlines to the V-shaped tail by mixing the aqua blue color & a white color on a clean sheet of paper.


For the ring finger, I've created some starfishes on an aqua blue background.


First put 2 coats of aqua blue color. Then using a small dotting tool & with a pinkish orange color (Essence: 109 off to miami!), make a five-lined asterisk to start creating the starfish. Carefully thicken it by doing a triangle shape on each line.

Add dots using a white color and a small point dotting tool.


Lastly, add a generous amount of top coat to finish the look.


Have fun! :)