12 October 2013

Halloween Special: Glow in the Dark Ghost Nails


Hey guys! Time for another nail art, and this week I did a halloween special nail design. This nail art design is perfect for halloween parties and trick-or-treating.

Here's how:


Nail colors used: scandal cosmetic's white, o.p.i. onyx black, scandal cosmetic's top coat and china glaze ghoulish glow (glow in the dark)

You will also need some toothpick or a dotting tool.


Apply a base coat on your clean nails to protect them.


Apply 2 coats of white nail polish and let them dry. 


Using a clean sheet of paper, place a drop of a black nail polish then dip a toothpick or a dotting tool in it.

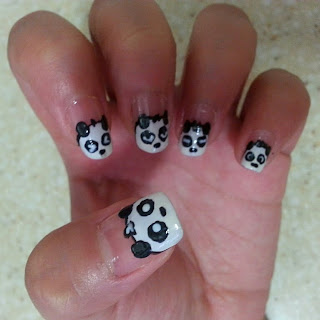
Add 2 dots for the eyes then add another dot for the mouth but this time slightly make it distorted to make a spooky effect. Let them dry.


Place a drop of a white nail polish on the paper then dip a toothpick or a dotting tool in it. Add another 2 dots to complete the eyes.


Apply a top coat to seal-in the design.

Now, for the fun part. Using a glow in the dark top coat, apply 2 coats on your nails and let them dry completely.


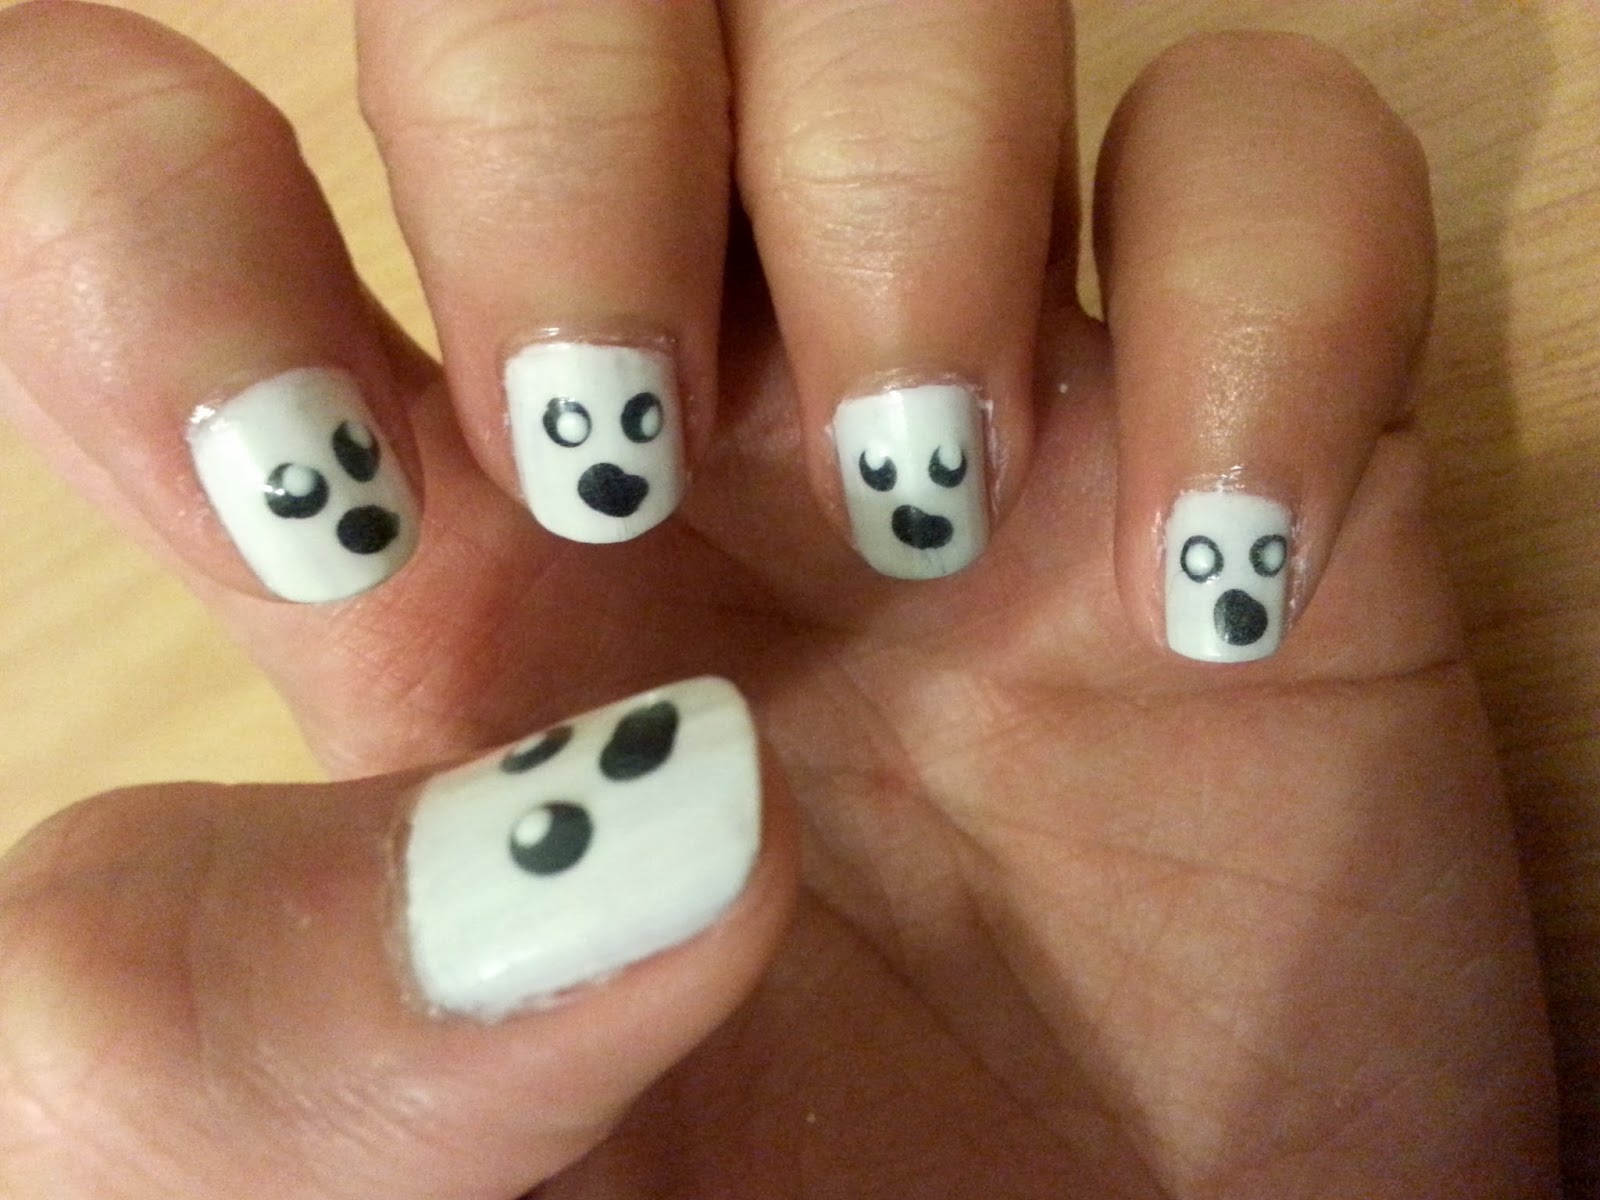
 And that's it, you now have a glow in the dark ghost nails.


Hope you guys like it. Have fun! :)

04 October 2013

Ring on nails


Here is another mani that I'm sharing with you guys. This is a simple ring on nails design. I like this nailart because it looks so simple and elegant, well aside from the fact that it is quick and easy to do. :P

Here's how.

Apply a base coat on your clean nails. Then, using your favorite nail color, apply two to three thin coats on your nails. Let it dry.


Using a shimmery clear nail polish, apply one coat on your nails then let it dry.


Using a 1mm nail tape, apply a strip of tape horizontally on each nail.


You can apply a thin layer of top coat before adding rhinestones to even out the surface of your nails.

Adding a rhinestone is easy. With a help of a toothpick, dip the tip of that to the top coat and put a dot on the center of your nail. Using the same toothpick, take 1 rhinestone and put it on the center of your nail. Lightly press the rhinestone to make sure that it sticks properly. 


Apply a generous amount of top coat and let it dry.

Hope you guys like it.

Have fun! :)

25 August 2013

Sweet Pink Leopard


Hey guys! Today I'm gonna share with you this fast and easy nail art that I did for this week. The design has a sweet peachy pink color with a leopard print accent. I'm now loving this design as it's so simple yet so eye catchy. I hope you'll like it too.

So let's start... :)

Here are the nail colors I've used:
Essence's 111 English Rose, Scandal Cosmetics' 01 White and Essence's 110 Modern Romance


After applying the base coat, I put 3 thin coats of the essence 111.


After making sure that it is completely dry, I added dots on the ring fingernail using the white nail color.


With the essence 111 and using the smallest dotting tool, I made some c-shape-like outline on the white dots. I also added random dots using the same color on the empty spaces.


Then, I put a layer of top coat to finish the design.


*Photo with flash

Have fun!! :)

11 August 2013

Think Pink


Now I'm gonna show you how I did this fun nail art using different shades of pink. :)

So let's start.

Here are the colors & tools I've used:
Scandal Cosmetics' Sally Red, OPI's Step Right Up!, Etude House's Pick Pink, Scissors, Nail Striping Tape


After applying the base coat, I applied 2 thin coats of OPI's step right up!. 


Then just like making a french tip, I made 2 lines in each nail to divide the nail into 3 parts using the other 2 nail colors. 


After the nail polish is totally dry I then put strips of nail striping tape on the area where the color divides.


Lastly, I've applied a layer of top coat and it's done.


Have fun! :)

08 August 2013

Simply Mickey


Hey guys! Let's do a quick and easy nail art design. This time it's a mickey mouse themed nails. I'm sure you guys will love to try this.

So let's get this started...

I've used OPI's Black Onyx, Scandal Cosmetic's 01 White, Essence's 115 Redvolution and some dotting tools.


After applying a layer of base coat, put on 2 coats of the essence redvolution.


With a black nail color and a dotting tool, create a mickey mouse logo by making 3 dots. To do this, add the center dot first for the head then add another two dots on top of the center dot for the ears.

Note: Repeat this same procedure to the rest of the nails except the ring finger.


On the ring finger, fill the top half of the nail with a black nail color. Then, with a dotting tool and a white nail color, add 2 white dots on the red part (lower half part) of the nail for mickey's shorts.


Lastly, put a layer of top coat and you're done.


Have fun! :)

Little Mermaid Nails


Hey guys! Today I'll show you how I did these little mermaid nails. :) This will actually take time & a little bit of patience as each nail is different.

For this look, I've used these nail colors below.


And like most of my other posts, here's my favorite tools to use. I find them easier to control than other brushes.


For the thumb, I did Ariel's face using these colors.


Start by painting 2 coats of nude color (Face Shop: BR 802).

Using a red color (Essence: 114 fame fatal), create her hair on the half top part of your nail by doing a check sign then fill it with that color.

Add 2 dots for her eyes using a black color (OPI: black onyx) and a dotting tool.


Then with the same black color and a striper brush, add her lashes. 

Now using a brown color (Essence: 124 wanna say hello), create her eyebrows.

Add 2 smaller dots to finish the eyes using a white color (Scandal Cosmetics: 01 white).


Moving on to the index, I did a mermaid's tail feel. I've painted 2 coats of aqua blue color (Face Shop: GR 501).

After making sure it's dry, I added a coat of a glittery blue from Sunny Glam Nails.

Lastly, using the same color of aqua blue and with a striper, I've created a criss cross pattern. 

Note: I did the same to the pinky nail.


Now let's do the middle fingernail. For this I've applied 2 coats of nude nail color.


For creating her top, I've used a light purple color (Face Shop: PP 401) and created a shape of an 8 with the help of a striper. I then filled it using a dotting tool. Using a darker purple (Face Shop: PP 403), I added lines in the middle to create a clam-like design.

Then with the aqua blue color, create a V-shaped french tip to simulate the mermaid's tail.

Note: You can add outlines to the V-shaped tail by mixing the aqua blue color & a white color on a clean sheet of paper.


For the ring finger, I've created some starfishes on an aqua blue background.


First put 2 coats of aqua blue color. Then using a small dotting tool & with a pinkish orange color (Essence: 109 off to miami!), make a five-lined asterisk to start creating the starfish. Carefully thicken it by doing a triangle shape on each line.

Add dots using a white color and a small point dotting tool.


Lastly, add a generous amount of top coat to finish the look.


Have fun! :)

29 July 2013

Panda Nails


Hey guys, today I'm going to show you how to create these cute panda nails.

Nails colors: Black and white
Tools: Dotting tools

With a white polish, create a rounded french tip covering about half of your nail.

Using a medium point dotting tool and with a black color, make 2 dots representing the ears.

Using a very small point dotting tool, carefully create the outlines of the panda's head.


Using the same medium point dotting tool, create another 2 dots for the panda's eyes. Do note that it should be a little bit bigger than the ears.

With a small point dotting tool, add another dot for the nose but this time make a very small oblong instead of a round shape.

Using a small point dotting tool, add the eyeballs using a white nail color.


Do the same to the other nails. Once they're completely dry, add a layer of top coat and your done.

Note: You can make different eye shapes to show different facial expressions.


Have fun! :)